

Showing posts with label brandywine designs. Show all posts
Showing posts with label brandywine designs. Show all posts
Thursday, August 21, 2014
I have moved!


Wednesday, May 14, 2014
Faux Cabinet Card Tutorial

Todays tutorial was born from one of my collections. I collect antique cabinet cards. Cabinet cards were a style of photograph which was widely used for photographic portraiture after 1870. It consisted of a photograph mounted on a thick card. Many times the cards were very ornate and beautiful. Sometimes you can even find them with advertisements for the photography studio on the back. I have bought them from antique shops, thrift stores, ebay, and estate sales. I love to make collages and mixed media. My style is vintage and grungy. Cabinet Cards seem to be a perfect addition to my projects. However, I'm a bit of a vintage hoarder and just can't seem to use my real stuff in my work. So through playing experimenting I have made my own.


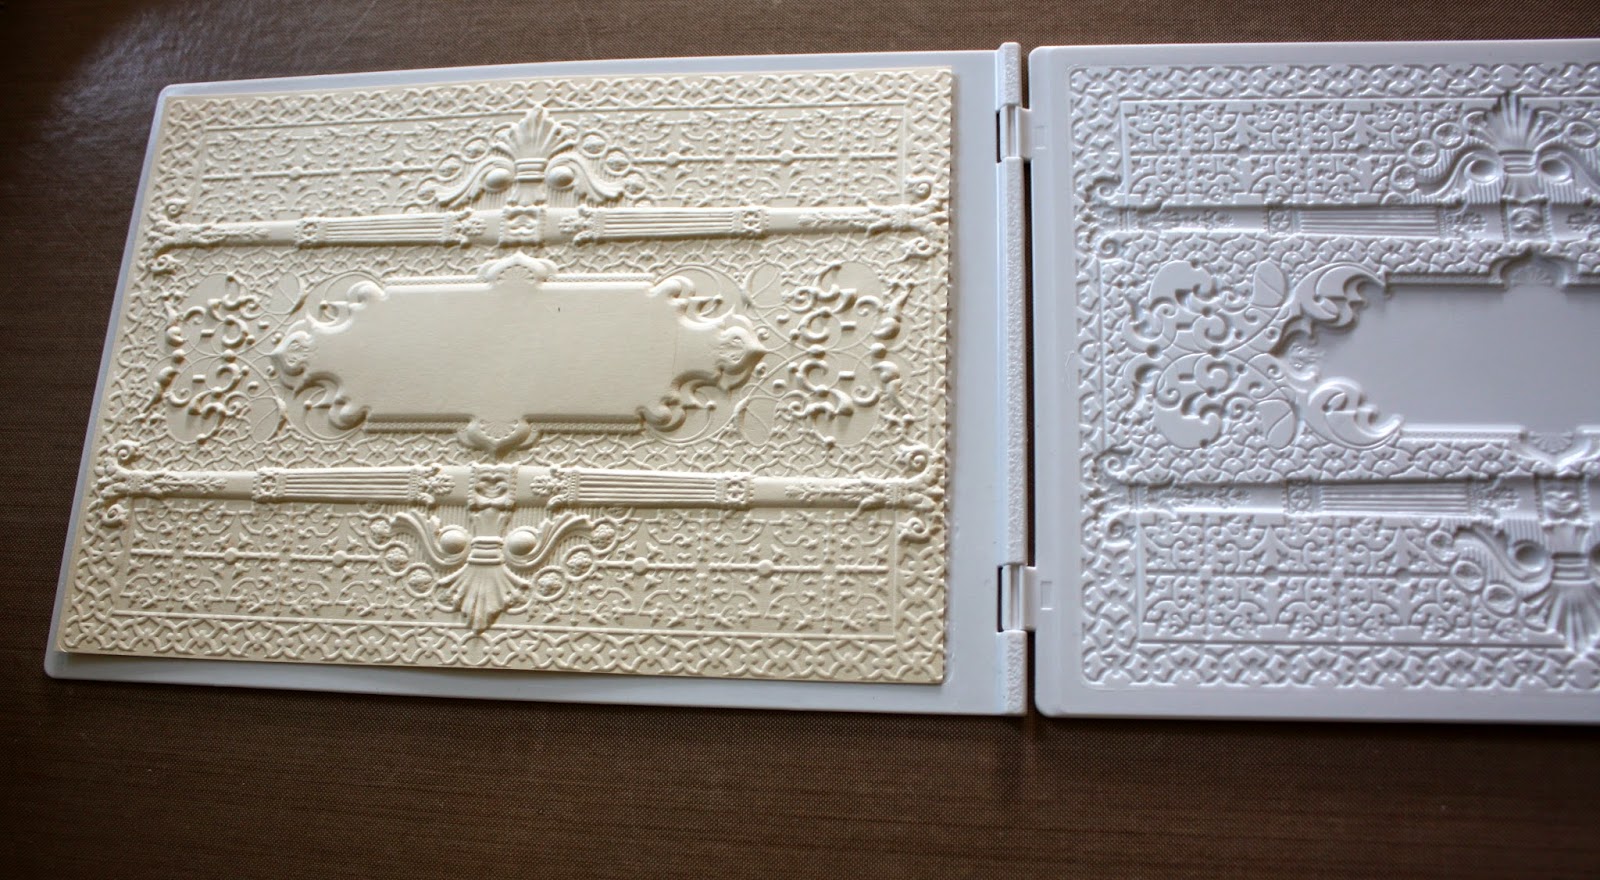
I used my Sizzix Big Shot and the Spellbinders Embossing folder Persian Splendor. There are a lot of other embossing folders that would work great for this project too. Tim Holtz has several that would be perfect.

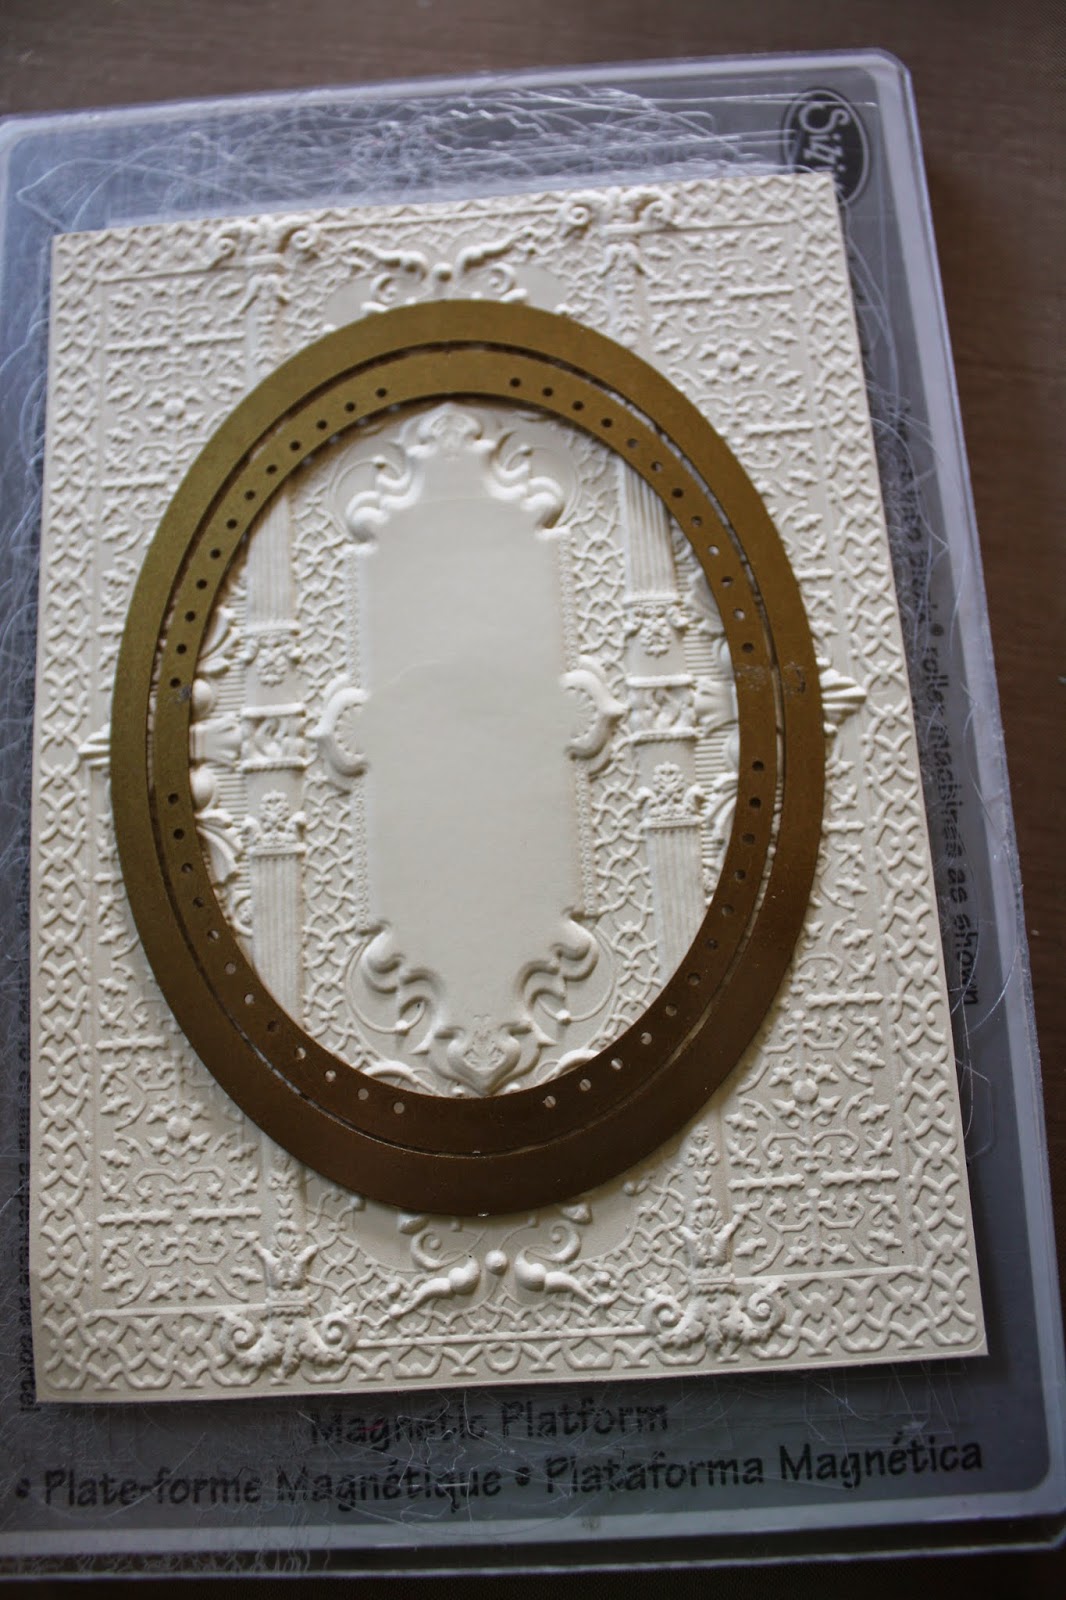 Inside it I placed the next size of Gold Ovals One. The first two ovals just emboss. This step can be eliminated. However I like the extra detail it adds.

 Send it through with the proper sandwich for your machine.

 Using Distress ink in your favorite colors ink edges.
 Don't forget to ink the inside of the oval window.
 Use a mini mister and some Distress reinker to spritz on some spots.
 Very sparingly use a dye spray to add a few dark spots.

 Send the mat through a Xyron Sticker machine to add adhesive.

 I also use a sharp object to get the adhesive out of detailed spots.
 A double mat is a lovely extra touch. Simply cut a coordinating color cardstock to fit the mat. Peel the backing of the mat and adhere the cardstock.
 Use the next to largest oval to die cut a window. Yay! Your faux cabinet card is ready for decorating.

 Add adhesive to the back and place the image you want. I used a new tag from my ETSY shop.
I don't have a picture but then you run the mat through the Xyron again. After that cut a piece of chipboard the same size and adhere.

I made some wrinkle ribbon.

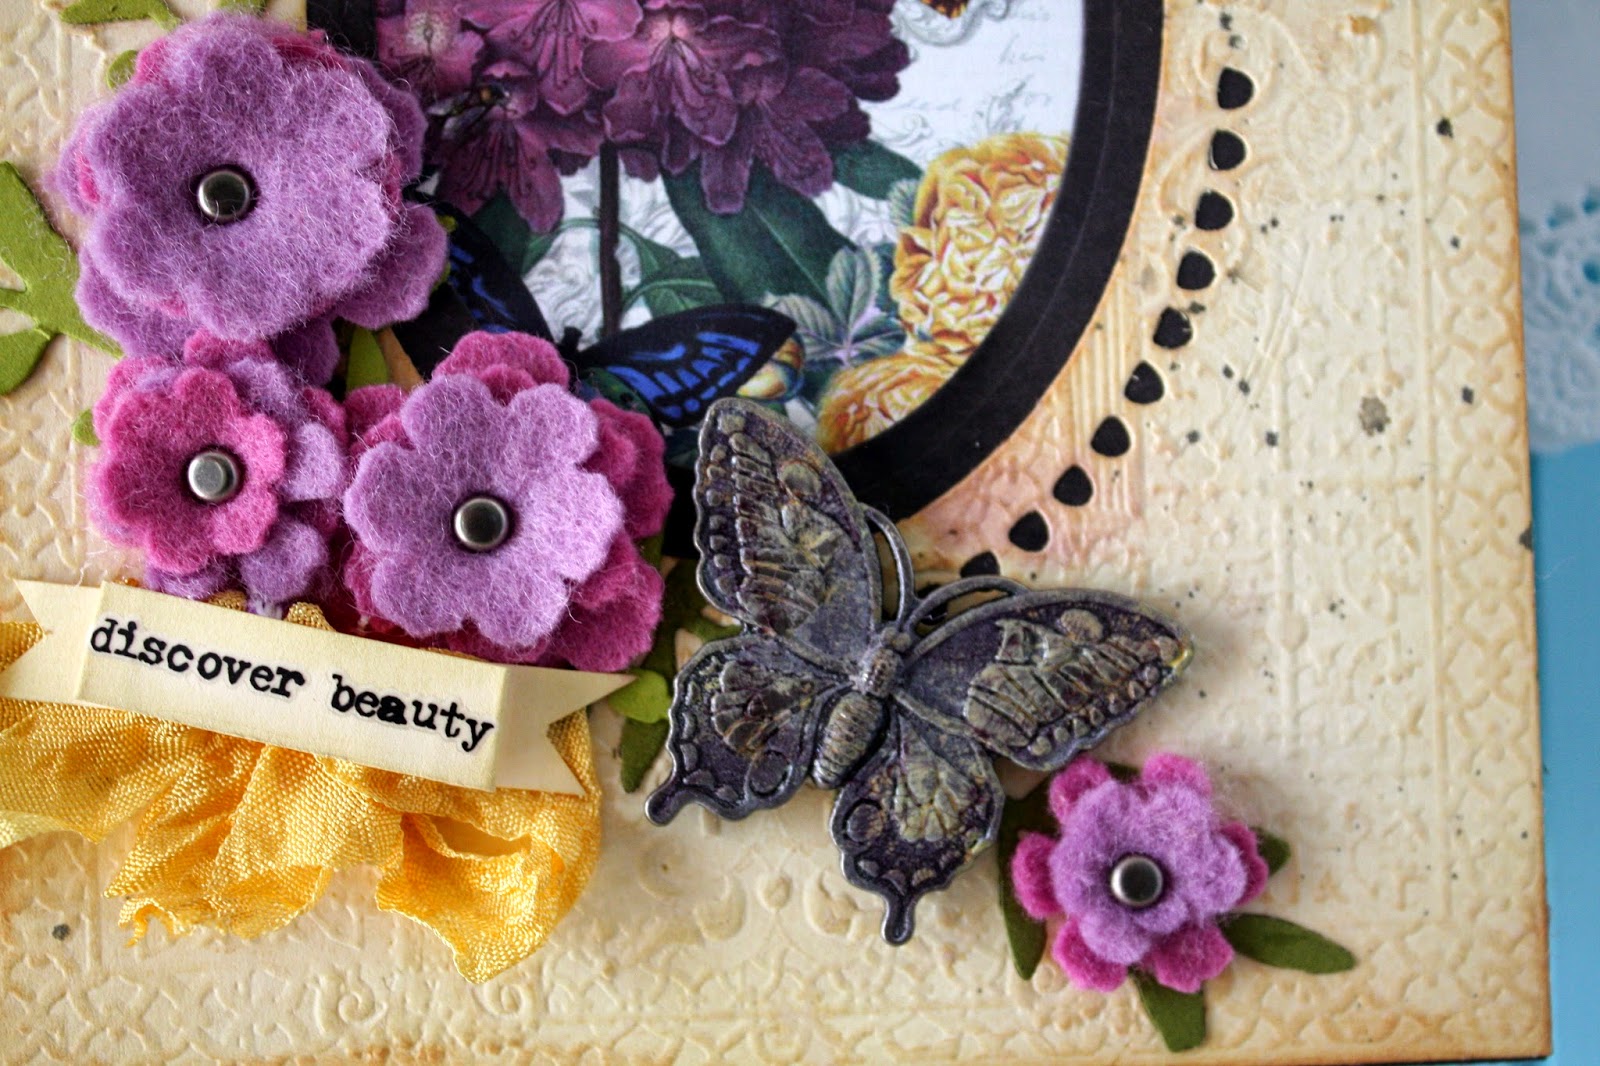
 I used a Tim Holtz Nature Adornments butterfly. I dabbed Scattered straw Distress paint on it. Next I coated it with Clear Rock Candy Paint. Last I added Milled Lavender Ink. The photos do not do it justice. Its gorgeous in person.
 I used some rub-ons to complete the collage.


I really love the pretty punch of color it adds to my studio. I hope you enjoyed the tutorial and have fun creating your own cabinet card collage.
*I was not paid or compensated in anyway for this post. All opinions are my own.
I have the new Sizzix Magnetic Platform and I LOVE it. Its especially great for this project. Start by placing the embossed paper on the platform and one clear plate face up or what ever sandwich your machine requires. Next I placed the largest oval from Spellbinders Gold Ovals One. When I placed it, I looked for patterns in the embossing that I could use as markers. This helps keep everything even.
Last I placed the largest Spellbinders Nestabilities Classic Oval. This oval will cut a window into the card.
Dry it all using a heating too.
Before I peel off either plastic I like to burnish it. This makes sure the adhesive sticks.
I don't have a picture but then you run the mat through the Xyron again. After that cut a piece of chipboard the same size and adhere.
I made some wrinkle ribbon.
Punched some holes at the top.
I then added felt flowers and greenery using Tim Holtz Spring Greenery and Tattered Flower Garland dies.
I really love the pretty punch of color it adds to my studio. I hope you enjoyed the tutorial and have fun creating your own cabinet card collage.
*I was not paid or compensated in anyway for this post. All opinions are my own.
Thursday, January 16, 2014
Hello 2014!

I will start out by telling you last year was hard. Really hard. My business Brandywine Designs seem to fall off the planet. No matter how hard I tried the income just wasn't coming in. My husband is a contractor and got a year long "job from hell everything went wrong" job so he was stressed for 1 whole year. My son became a teen (enough said). That's just some of it. The most depressing part was I almost got a divorcé. But through counseling and a few amazing books and people we are happier than we have ever been together. One of those people was Alisa Bowman. She has a book and blog Happily Ever After. Let me tell you people she is REAL. She puts it ALL out there. And she is super nice too.
I'm still going to have a "crafty" blog. I am BROADENING my crafty, art side too. My goal is to blog at least once a week. I have a lot to share and I don't plan on holding back.
If your still reading this...thank you! And to all any of the wonderful people that have stuck with my blog over the years THANK YOU!
p.s. I'm mostly social network on Instagram. You can find me here http://instagram.com/lavenderwolf7
Wednesday, April 10, 2013
Trendy Celebration Card Kit


Tuesday, March 12, 2013
Heidi Swapp Tutorial

Hi. I am doing a Heidi Swapp Color Shine Show IN Tell Sunday March 17 from 1-3 at Michael's in Abilene, TX. Its free! I'm so excited about this because I LOVE Heidi Swapp stuff. Michael's now carries it and I must admit I have purchased a bunch! I thought I would put together a quick little tutorial on how a made a card using Heidi Swapp supplies and Color Shine.

First I took a Mini File, opened it and cut it down the crease.

Next I took a scoring board and bone folder and scored the half with the tab a 4 3/8 inches. The wonderful thing about the mini files is they are reversible! Good luck trying to decide which side to use. But, because we cut the file in half you could make a card using each side!

Then I took one of the sheets from Color Magic 8 x 8 paper pack and cut three one inch strips. I used four colors of Color Shine to color the strips. I cut them into 2 inch pieces and cut the bottoms to make a banner.

I added a 3 3/4 x 3/4 strip from the 12x 12 Sugar Chic Paper Pad on top of the banners. And a 6 x 1 inch strip across the card from the same paper pad. I added a Color Magic butterfly that I sprayed with Primrose Color Shine. And some embellishments from the Chip Board Stickers. The enamel dots are from My Minds Eye.
If you want to see it in action come by on Sunday to see me!
* I didn't receive free product or compensation of any kind for this tutorial.
If you want to see it in action come by on Sunday to see me!
* I didn't receive free product or compensation of any kind for this tutorial.
Thursday, February 28, 2013
Come Join Me
.jpg)
I am so excited to anounce that I am the new Papercraft Instructor at my local Michaels store!!! I feel like this job was made for me. This Saturday March 2nd I will be hosting a Scrap IN. It is from 3pm to 9pm. Come CROP, CHAT, & CREATE. The cost is only $5.00. I'm so super excited to meet other papercraft lovers. If you live in the area I would love to meet you!
3433 Catclaw Dr
Abilene, Tx 79606
I will be offering weekly papercraft classes soon. I will post all the info on my blog in a few days.
I hope to see you there!

Wednesday, January 9, 2013


Monday, July 2, 2012
Summer
 |
| Port Aransas, Tx |
I hope you're having a fabulous summer! I will be back soon with a give away!
Wednesday, April 25, 2012
PTI April Blog Hop

 |
| Photo Credit |
I'm so glad I get to participate in this months blog hop! Its the first time in months I have been home on the 25th. The above photo is the inspiration we were to use. Of course I LOVED it! All my favorite patterns and colors. Instead of a card I made this little canvas to hang in my kitchen. I used the new Strawberry Patch stamps and dies again. I'm completely obsessed with strawberries now. Thanks for stopping by. Happy Hopping!


Recipe
(All PTI unless Noted)
Dies/Stamps: Strawberry Patch Set, Berry Basket, Friendship Jar Spring Fillers Stamp Set, Tiny Tags Die
Paper: Aqua Mist Pattern Paper Pack, Pretty Party (Crate Paper), Je tadore (Making Memories), The Girls Paperie
Other: Flowers & Mini Aged Clothes Pins (Brandywine Designs)
Subscribe to:
Posts (Atom)