


 I hope everyone had a wonderful summer! It seems summer will never end here in Texas. We are in the middle of a heat wave. Temps have been over 100 degrees for days! It’s a perfect excuse to stay in and craft. Meet the teacher day is this Thursday for my almost eleven year old son Keegan. For some reason my sweet little boy has grown a big fat attitude this summer. Is it because he is almost a teenager? Who knows. I thought just in case this “attitude” doesn’t go away I better butter up his new teacher. I created this notepad holder. It would be the perfect teacher gift, hostess gift, or a little something special for anyone you want to thank. It takes very little supplies and time. You could even make a bunch and save for all those last minute gifts you always end up needing.
Supplies
3 Sheets of Coordinating Patterned 12 x 12 scrapbook paper ( I used My Mind’s Eye- Out and About)
Bone Folder
Glossy Accents (by Ranger)
Small 8 x 5 inch Note Pad (I bought mine in bulk from Sam’s Club)
Assorted Matching Ribbon
Brad and Flower Accent
Sewing Machine (Not necessary but nice)
Ruler or Scoring Tool (I use Martha Stewarts Scoring tool)
1 Pick out one of the papers to be the outside of the holder, one for the inside, and one for the pocket.
2 Fold the outside paper in half. The pretty side will be on the outside. Use a bone folder to make the fold crisp.

3 Fold the inside paper in half with the pretty side in. Use the bone folder again.
Trim both down to 10 x 12 inches.

4 Cut the 3rd paper for the pocket down to 12 x 4 inches. Fold in half with pretty side of paper on inside.
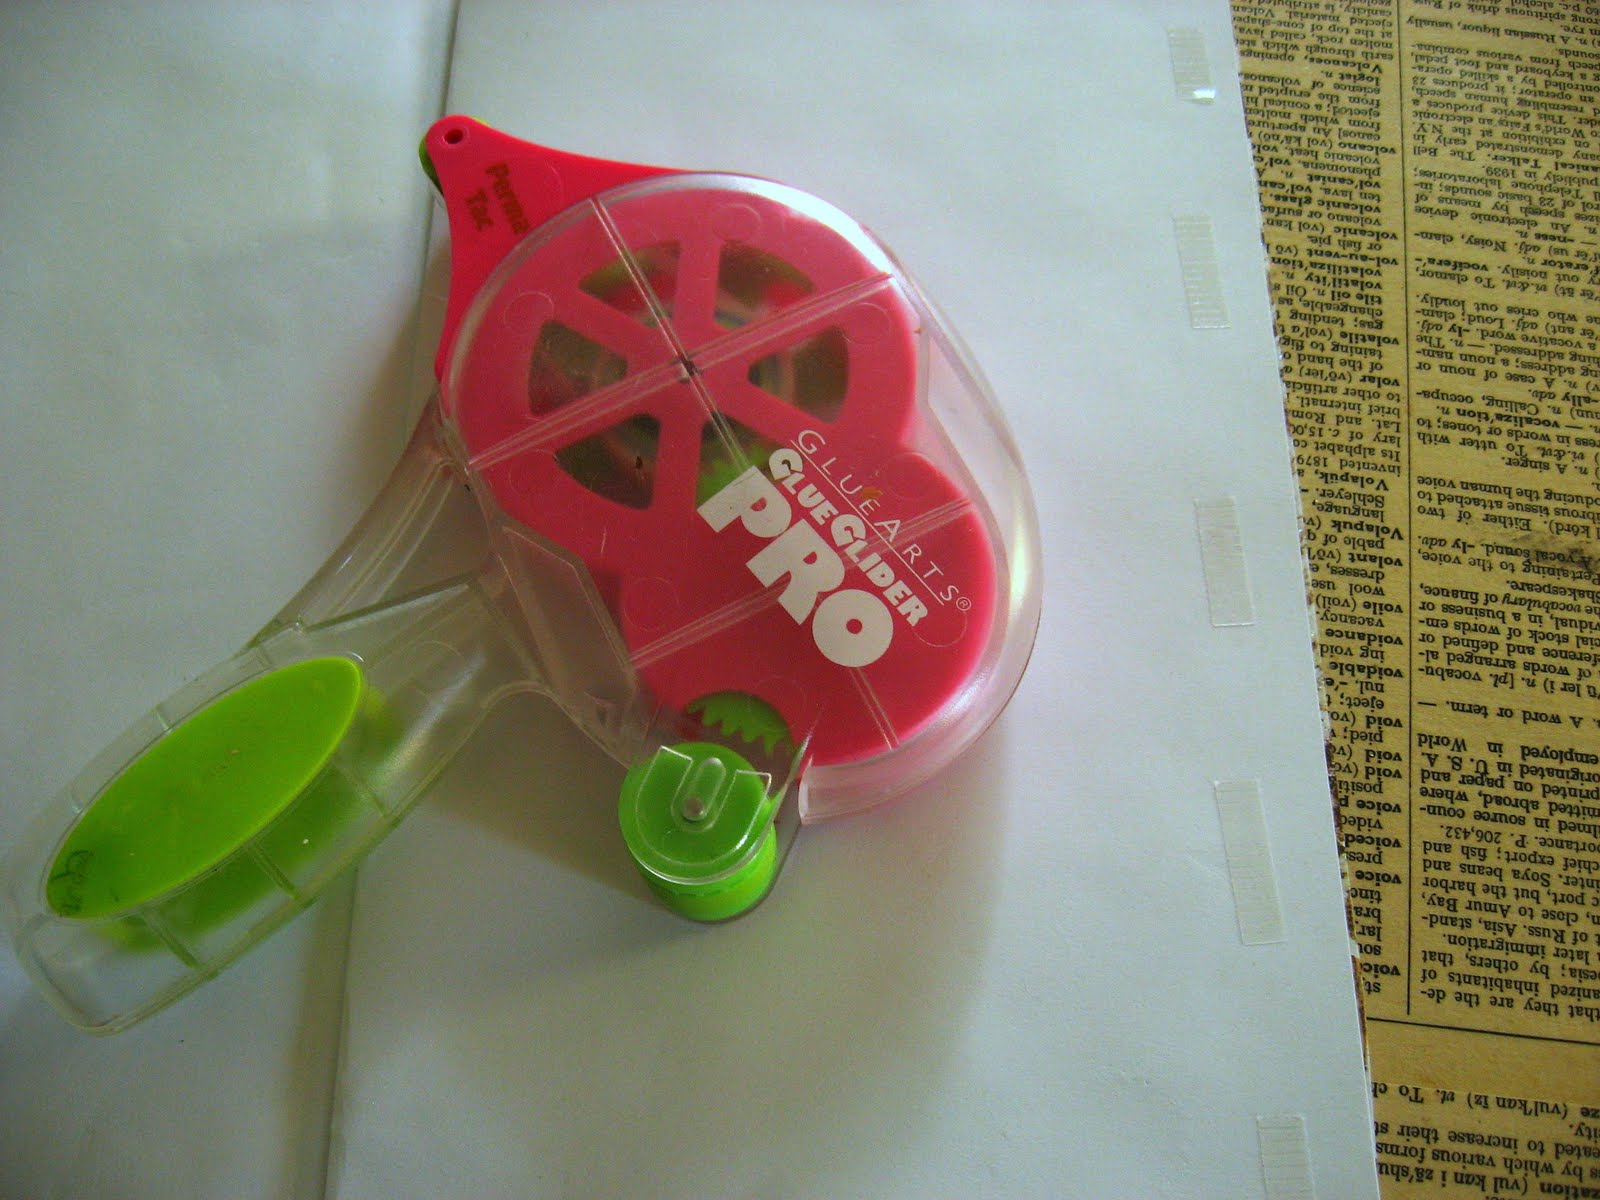
5 Using a glue stick, Glue Glider Pro or other adhesive to glue the inside and outside paper together.
6 Glue three outside edges of pocket to inside of holder.

7 I sewed the outside edge and center of pocket. You do not have to do this but it makes it so much nicer and more durable!
8 Take left over paper from the outside and cut down to 5 x 2 inches.
Score the paper longways at ¾ inch and 1 inch.

9 Fold and glue to top of note pad

10 Add buttons, rhinestones, bows, stickers, or any flat embellishment to the top. I used Glossy accents to apply my buttons. It will make any thing stick!

Glue (I used hot glue) ribbon around the outside. Use a ruler when applying to keep it straight. Go all the way around leaving extra for tying.
11 Poke a hole near the front though the ribbon and paper. Insert brad.
12 I cut a little scrap of paper matching the inside and glued on top of the brad’s metal prongs.
13 Place your note book in the pocket and pencils or markers in the other.
Now you have a butter up the teacher...oops I mean new teacher gift.
Please feel free to pass this tutorial on! I appreciate it!
Brandy
2 comments:
That is darling and you did a great tutorial...And as a mom of a 16yr. old and 18yr old I just want to say....Hold on! You're in for a ride! karen....
Post a Comment