Sunday, January 9, 2011
Need Help!
Thursday, January 6, 2011
He Gave Me a Rose
Labels:
bow,
button,
Card,
crinkle seam binding,
diy,
doily,
gems,
kit,
pearls,
pink,
roses,
scrapbook,
shabby chic,
tutorial,
valentines day,
vintage wallpaper
Wednesday, January 5, 2011
Hearts
Tuesday, January 4, 2011
Small Treasures Bring Joy
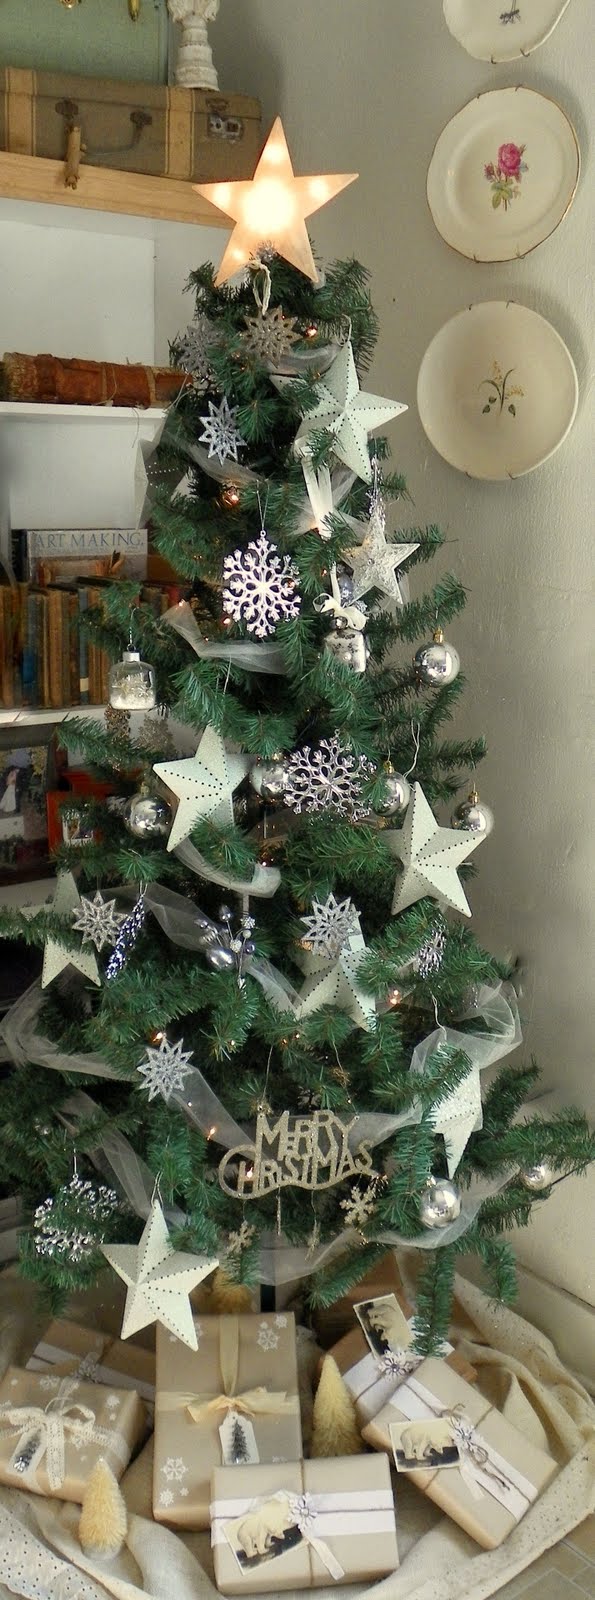
Well I finally downloaded all the pictures from Christmas off my camera. Here are just some of the delightful goodies I received from Christine in our Vintage Stocking Swap. I really LOVED everything. It was all so me! I loved the little bobbles she sent me so much I'm keeping them on my little tree all winter! You should go to her blog to see much better pictures of all the treasures she sent me.
Also here is a picture of the sweet doll and ornament Cerri sent me. It was such a thoughtful thing she did. Isn't the doll enchanting?
Sunday, January 2, 2011
I Love You A Ton
Robyn at The Pink Stamper is looking for a design team member for 2011. I would really LOVE to be on her team. Designing is my goal this year so wouldn’t The Pink Stamper design team be a great place to start? She is picking a team member by this challenge: make something with pink, green, and brown. I’m all about Valentine’s day right now so I made a Valentines card. I took my inspiration from the polka dot glitter paper. This is only the second gatefold card I have made. Its so much easier than you think! This is what you need:
Recipe
Polka Dot paper from Out & About Stack by My Minds Eye
VersaFine Vintage Sepia ink
Scribbles 3D paint
Spare-Parts round brads
Distress Ink-Worn Lipstick
Cardstock
Studio G “I love you a ton!” Stamp
Paisley Cricut Cartridge Page 28
Martha Stewarts Scoring board
Bone folder
Foam dots
Clear embossing powder
Heating Tool
Stick on gems
Here are some quick instructions:
I followed the measurements on my Martha Stewart scoreboard. Which I LOVE by the way. Start with a 9 x 6 ¼ card stock. Score at 2 ¼ & 6 ¾. This will give you an A6 sized gatefold card. The first layer of brown card stock is 1 7/8 x 5 ¾ inches. Cut two. The second polka dot paper is 1 5/8 x 5 5/8. Also cut two. I cut the elephant out using my gypsy but you could use just your cricut at 3.5 inches. I wanted to show you a picture of my Cricut mat. This is what I adore about the Gypsy, all your cuts can be made on one mat with scraps of paper. I used foam dots to pop up the elephant and added red cheeks using Scribbler paint, added a gem, eyelashes, and distress ink. I used the VersaFine ink to stamp the sentiment then embossed it using clear embossing powder. I used foam dots and brads on the sentiment layer. To finish you adhere the matted elephant to just HALF the card. The you adhere the matted sentiment to just the other HALF. See! Besides figuring out all the measurements its easy and fun! And I figured out the measurements for you so you don’t have an excuse not to try this fun card! Wish me luck for making the design team!
P.s. I will be back with more Vintage Stocking Swap photos soon. They will make you swoon! I sure did.
Friday, December 24, 2010
Wednesday, December 22, 2010
Gifts Under The Tree
Today Christmas break starts! I finished wrapping gifts in the nick of time. I thought I would share my simple wrap ideas. I used light craft paper. The snowflakes on the paper were wet embossed using various snowflake stamps, embossing power, and a heating tool. I did this after wrapping and it would be much easier and less messy to do before. Then I tied on some recycled ribbon and added a tag that I had hot glued a cupcake tree pick to. The other gift wrap was done using craft paper again. I cut white cardstock into strips and embossed it using my Cuttlebug and a snowflake folder. The polar bear tag is from an antique print I scanned and printed. I used white, puffy fabric paint and added to the edge. Once its dry you can use a heating gun and heat it. It puffs up to look like snow. I punched a snowflake from Martha Stewarts large snowflake punch and added a gem. Some rustic twine finishes it off.
So if your in a time crunch, just grab some items from your craft supply and make your own gift wrap!
Monday, December 20, 2010
It Must Be Christmas
It must be Christmas and I must have been a very good girl to get all this! This is the magical goodness that I got from my sweet Vintage Stocking swap partner Christine. She sent everything you see besides the tinsel trees. I had stacked some suitcases and placed the tinsel trees on top with a vintage doily and burlap. I knew the corner needed more, especially since the wall was blank. But, I just have not had time to make anything. Now I don't have too! Its like a fairy decorated for me. Even better that I could have done myself! I love it so much that I'm waiting till Christmas to see whats in the stocking and open the gifts. I will share with you when I do open them! Can you believe the stocking?! I will cherish it forever. What a lucky girl I am! You must go see Christine's blog. Its so lovely. She is a fabulous photographer. And an amazing swap partner!
Well, I did another The Pink Stamper Challenge. This one was to make A Christmas or winter themed card or scrapbook page. I made this card using the Cricut cartridege: Celebrate with a Flourish. I cut the word out then used Ultra Thick Embossing Enamel to coat it. I used a Cuttlebug embossing folder for the green. The ledger paper is from The Girl's Paperie- Tinsel & Twig. I bought the Cardinal sticker at Michaels. I'm not sure what brand it is. I love how glossy and shiny the letters are. In the future I will do a tutoral on how to it.
Labels:
Card,
challenge,
christmas,
swap,
vintage stocking
Wednesday, December 15, 2010
A Challenge

I have seen so many "create this" challenges and never have the time to submit anything to them. Well in the coming year I'm going to make it a priority. It just seems so fun and well....challenging. Plus I get to share with you how I made something. I though I would start with this challenge at The Pink Stamper. It was a color challenge. Use two colors of pink, two of blue, and black. Since aqua and pink are my fav color combo I just had to try it. Here is what I used to make it:
Black cardstock cut at 6x 12 then folded in half
2 Colors of aqua cardstock
Pink cardstock
Stickles
Martha Stewart Holly punch
Gem stones
Martha Stewart clear glitter
Cuttlebug Embossing folders
Cricut Cartridge Give A Hoot
I will have more details about what I use in future projects.I will make sure to have the brand and name of everything I use. I even hope to start making video tutorials for you.
Tuesday, December 14, 2010
A Book Tree
Photo From JeanneHow cool is this tree Jeanne made?! You can learn how to make it too over at the Joli Paquet blog.
I have a few Merry & Bright Printers Tray Kits left. They are on sale today ONLY!

Have a great day!!
Monday, December 13, 2010
Shop Sale

My monkey is doing much better. Thank you all for asking! I'm closing my shop this week probably until January. I want time to make homemade gifts. I'm also already working on Valentines day goodies. And I will be cleaning out my studio and adding a lot of my "overflow" supplies in my shop. Right now I have a 3 day sale on select items. It ends Wednesday. I will still be blogging though! I will show you my handmade gifts, holiday decor, and gift wrap! The pictures are gift wrapping I did a few years ago. They where a big hit. I hear some of you have lots of snow!! I'm envious! I doubt we will see any here this year. We are in a drought. Pooy! Wednesday, December 8, 2010
Glittery Pretties and A Sick Little Monkey
Photo Courtesy of Cerri
There is a easy and fun tutorial over at Joli Paquet by Cerri you need to go see! So cute!
My little monkey has been sick. His asthma flared up for the first time in a few years and it took a few days and the doctor trying different medicines to get his breathing back to normal. There is nothing more stressful or scary than having your child tell you he can't breath! But, after lots of tlc he is doing great. He told me " Mom thanks for EVERYTHING." so sweet! At night I couldn't sleep because I went to check on him like every five minutes to make sure he was breathing. I'm just a LITTLE over protective. I took the time to make some yummy pink goodness. I'm offering this set in my shop. I think its very shabby chic! If it doesn't sell I'm perfectly fine with that. I think it would look marvelous in my studio.
Labels:
brandywine,
christmas,
cone,
etsy,
feather tree,
glitter,
handmade,
holiday,
mercury glass,
one of a kind,
pink,
rose,
shabby chic,
snow,
snow flake,
tinsel,
vintage
Thursday, December 2, 2010
Kits & Collages
My Merry & Bright Printers Tray Kit is now available. Quantities are very limited so if you want one be fast! I added these two collages, snowflake ornaments, and little woodland scene to my shop last night. The collages have already sold. I think for the rest of the season I will try to make more one of a kind holiday goodies to sell. No pressure, just fun creating. Have a blessed day!Wednesday, December 1, 2010
Winter Woodland Cupcake Kit
I have added a few Winter Woodland Cupcake Kits to my shop. I changed it up a little since last year. Its one of my very favorite Holiday decorations. You can find previews of all the girls Joli Pauqet kits here. They go on sale in all our shops tomorrow.
Subscribe to:
Posts (Atom)